windows 编译databus 运行demo
简单介绍
参考:databus架构
- jdk1.8
- mysql 5.7+,具体原因参考databus for mysql wiki
- idea
- gradle 4.5+
##databus github 地址
databus
安装gradle
下载gradle
安装gradle
- 解压 gradle-4.5.1-bin.zip 到一个目录下
- 配置环境变量
        1.GRADLE_HOME = E:\dev-tools\gradle-4.5.1
        2.Path = %GRADLE_HOME%\bin
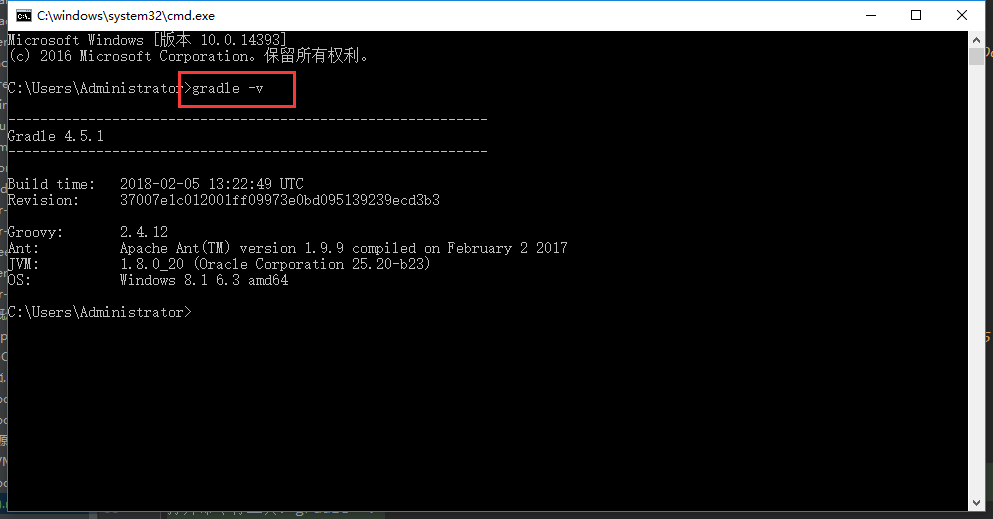
        3.打开命令行工具:gradle -v

下载databus代码
clone 一份代码到本地
git clone https://github.com/linkedin/databus.git
使用idea打开源代码
- 在databus 主目录下的build.gradle 添加如下代码
    tasks.withType(JavaCompile) {
        options.encoding = "UTF-8"
    }

    tasks.withType(GroovyCompile) {
        groovyOptions.encoding = "MacRoman"
    }
- databus主目录subprojects.gradle 177行修改为
    if (JavaVersion.current().isJava8Compatible()) {
      allprojects {
        tasks.withType(Javadoc) {
          options.addStringOption('Xdoclint:none', '-quiet')
          options.encoding("UTF-8")
          options.charSet("UTF-8")
        }
      }
    }
- 下载ojdbc6.jar
    copy ojdbc6.jar 到sandbox-repo/com/oracle/ojdbc6/11.2.0.2.0 下
    重命名ojdbc6.jar为ojdbc6-11.2.0.2.0.jar
- 在databus主目录下执行编译
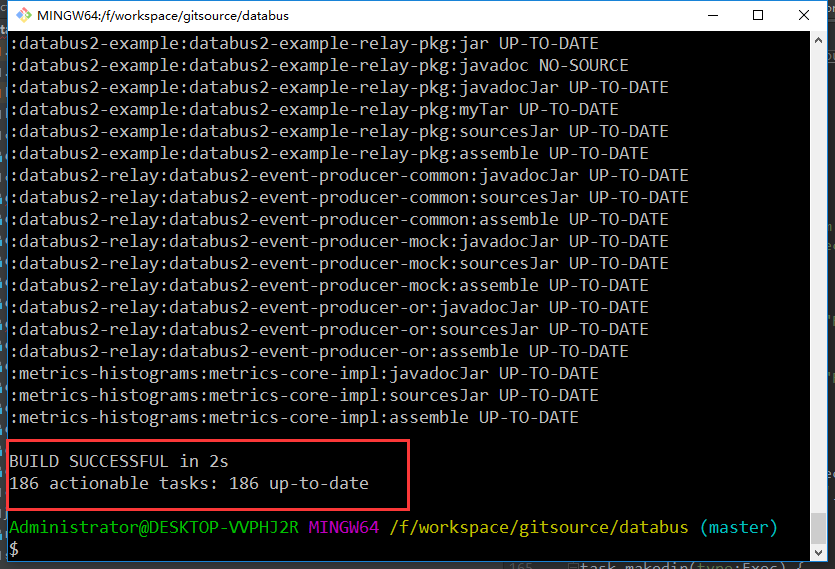
gradle -Dopen_source=true assemble

运行databus的mysql demo
mysql5.7+ 安装一份 开启binlog 且 格式为ROW
- 在数据库中创建表person,并插入数据
    CREATE TABLE IF NOT EXISTS person
    (
            id bigint primary key PRIMARY KEY AUTO_INCREMENT,
            first_name varchar(120) not null,
            last_name varchar(120) not null,
            birth_date date,
            deleted varchar(5) default 'false' not null
    );
    INSERT INTO person(first_name, last_name, birth_date)
           VALUES('balaji', 'varadaran', '1980-01-01');
    INSERT INTO person(first_name, last_name, birth_date)
           VALUES('boris', 'shkolnik', '1981-02-02'),
                 ('sunil', 'nagaraj', '1982-03-03');
    INSERT INTO person(first_name, last_name, birth_date)
           VALUES('chavdar', 'botev', '1983-04-04'),
                 ('phanindra', 'ganti', '1984-05-05'),
                 ('sajid', 'topiwala', '1985-06-06'),
                 ('naveen', 'somasundaram', '1984-05-05');
    INSERT INTO person(first_name, last_name, birth_date)
           VALUES('greg', 'roelofs', '1985-06-06'),
                 ('kapil', 'surlaker', '1986-07-07');
准备linux系统,虚拟机,并安装jdk8
编译打包文件
relay
- 修改 databus2-example-relay-pkg/sources-or-person.json
    {
        "name" : "person",
        "id"  : 1234,
        "uri" : "mysql://root%2Froot@192.168.22.101:3306/1234/mysql-bin",
        "slowSourceQueryThreshold" : 2000,
        "sources" :
        [
            {
            "id" : 40,
            "name" : "com.linkedin.events.example.or_test.Person",
            "uri": "or_test.person",
            "partitionFunction" : "constant:1"
             }
        ]
    }
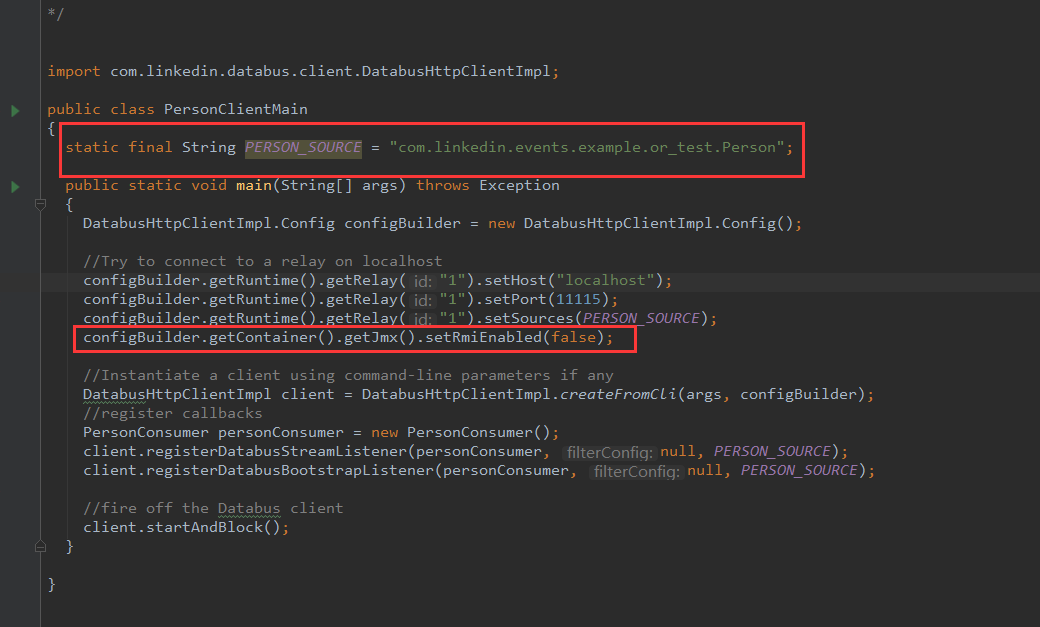
    id 修改为mysql的serverid,sources 中的name 修改为com.linkedin.events.example.or_test.Person
    这个对应databus2-example-relay-pkg/schemas_registry/com.linkedin.events.example.or_test.Person.1.avsc
uri: 含义
mysql://username/password@mysql_host[:mysql_port]/mysql_serverid/binlog_prefix
client
- 修改 PersonClientMain

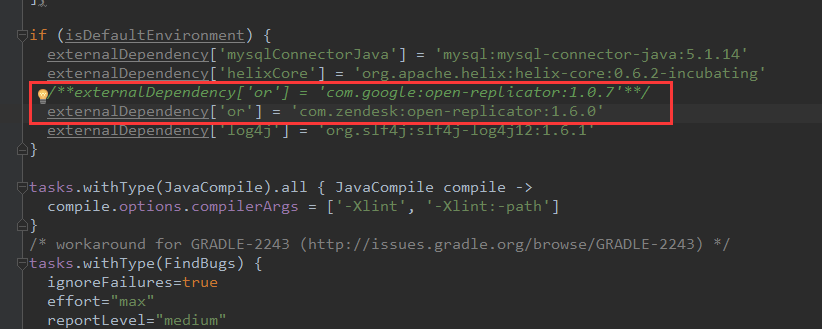
open replicator
    由于新版本的mysql binlog 格式变化了,所以我们需要使用新包open-replicator 1.6
    修改subprojects.gradle 文件

开始编译打包
    databus/build 目录下
    1、databus2-example-relay-pkg/distributions/databus2-example-relay-pkg-2.0.0.tar.gz
    2、databus2-example-client-pkg/distributions/databus2-example-client-pkg-2.0.0.tar.gz
    copy 以上两个包到linux服务器上
    解压后首先运行reply ./bin/start-example-relay.sh or_person -Y ./conf/sources-or-person.json
    在运行./start-example-client.sh person
    观察client的日志目录 client.log ,tail -f client.log
    修改表person中的数据 update person set first_name='Boy' where id=1;
注意: 由于是在windows编译的,shell脚本运行时可能报错,需要到bin目录下执行
sed -i 's/\r$//' *
